Create your first voiceover
This walkthrough takes you from the empty workspace to a playable multi-voice draft. The packaged desktop app runs locally and opens the workspace in your default browser.
Before starting, confirm that you have a supported Windows x64 or Linux x64 computer, internet access, and your own Deepgram API key for narration generation. Video rendering additionally needs a Chromium-family browser and ffmpeg 5+ with libx264 and AAC. See the complete requirements before you buy, including optional AI and image-provider credentials.
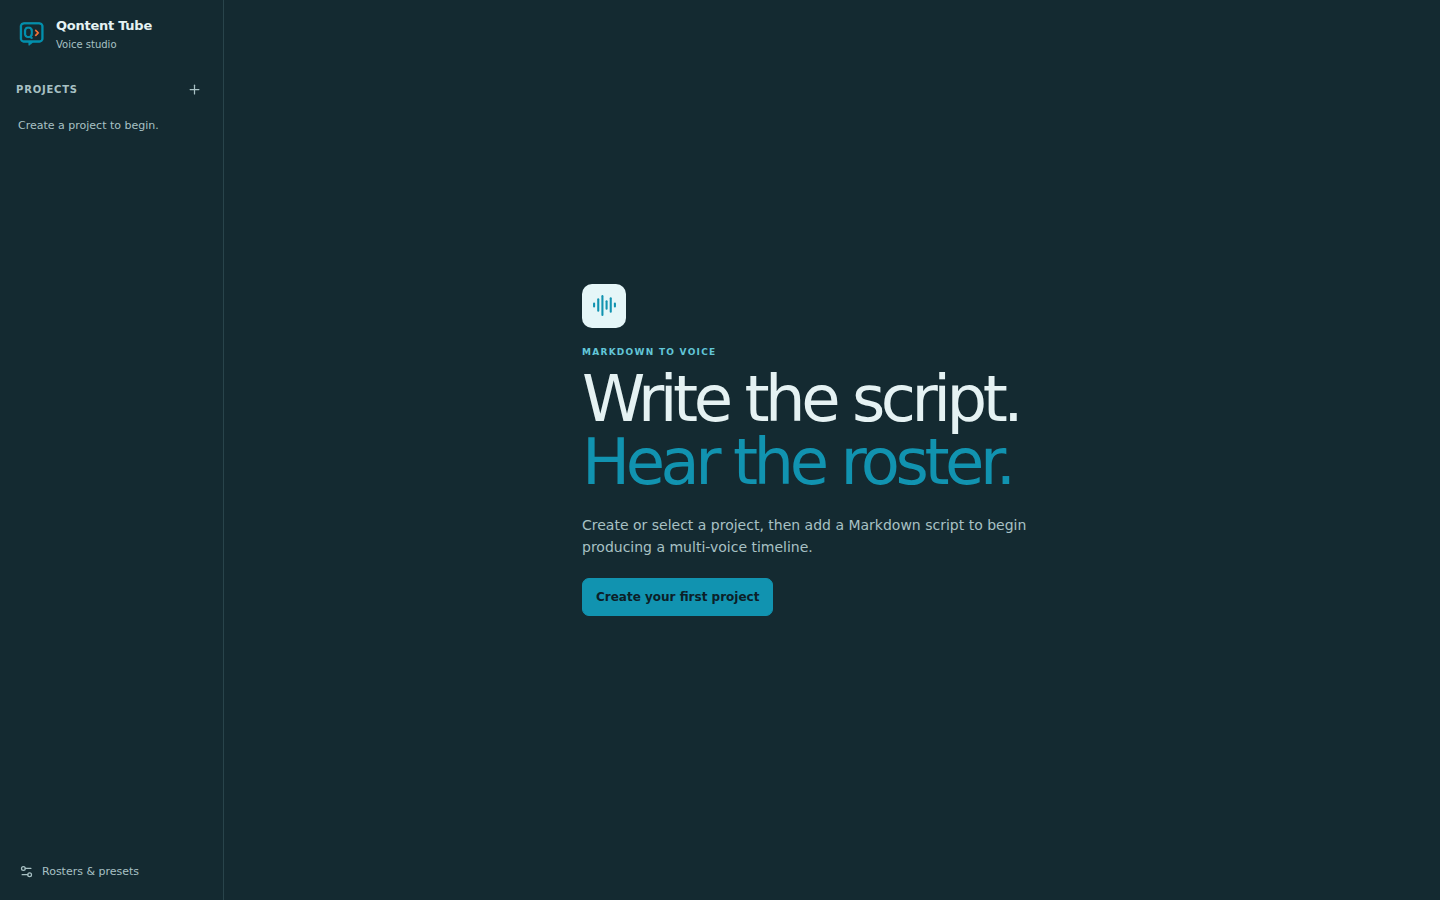
1. Create a project
Select Create your first project, give the project a clear name, and confirm it. A project is the home for a related collection of scripts, such as a channel, course, campaign, or client.
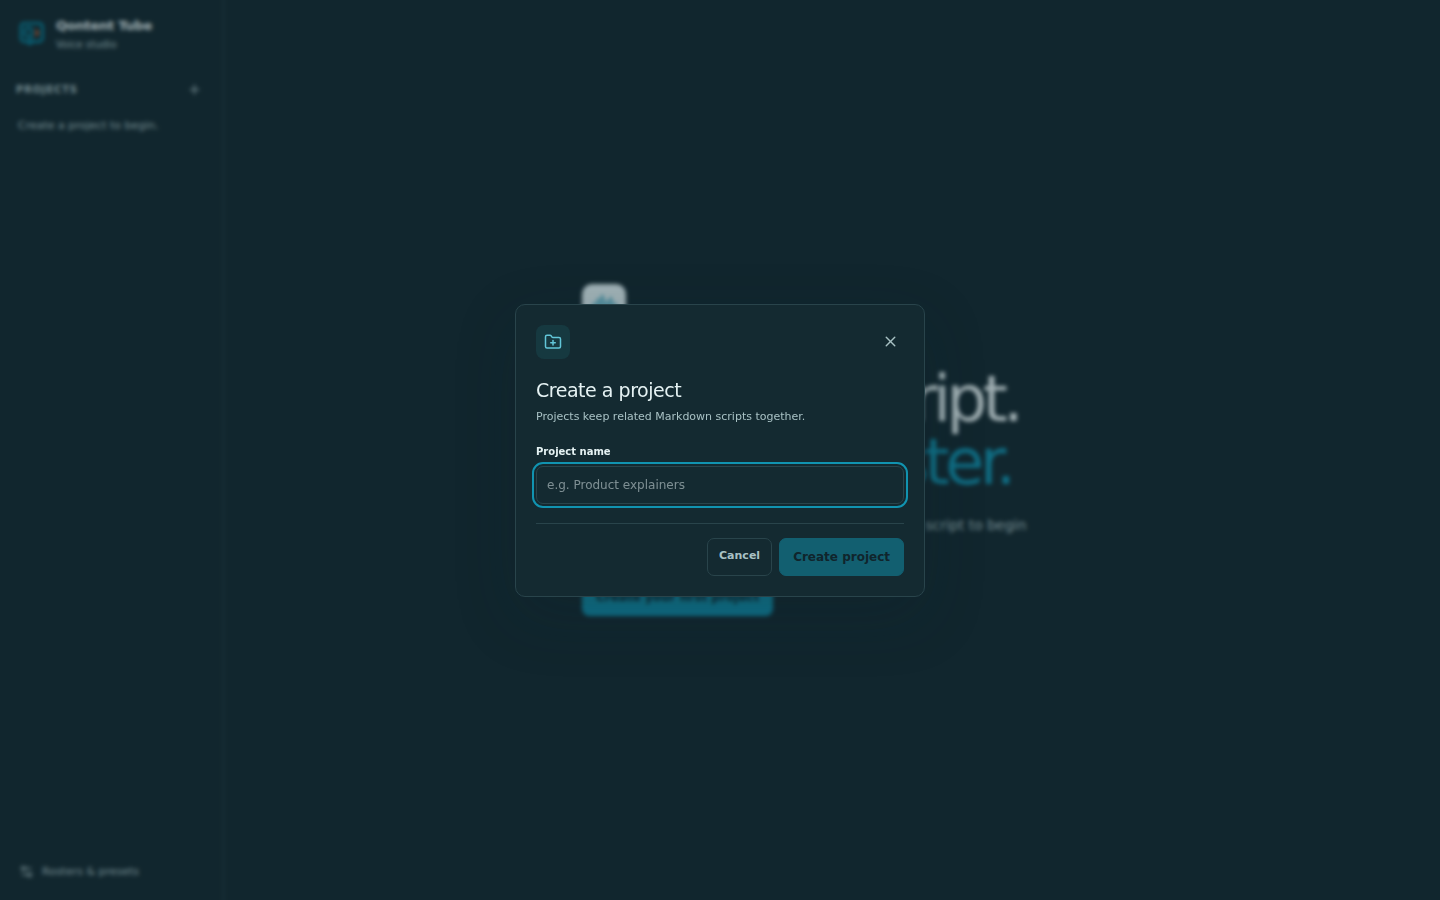
2. Create a voice roster
Open Rosters & presets, add a roster, and add the speakers you expect to use. For each member:
- Enter the name that will appear in the script.
- Choose a friendly voice from the available catalog.
- Adjust the speaking pace when needed.
Speaker matching ignores capitalization, so a roster member named Narrator matches **NARRATOR:** in the script.
On first launch, add your Deepgram API key when prompted. You can skip it while authoring, but Generate audio remains unavailable until the key is configured.
3. Create a script
Choose New script below the project. Qontent Tube creates the first available untitled-N.md file and opens it for editing. Rename it with a safe name ending in .md.
Paste this small example:
# A Better Way to Build Voiceovers

## Scene 1 — The problem

[ON SCREEN: A creator surrounded by audio files.]

**NARRATOR:**

Creating the story should be the exciting part. Managing every recording should not be the hard part.

## Scene 2 — The solution

[ON SCREEN: The Qontent Tube workspace comes into view.]

**NARRATOR:**

The script, the cast, and the finished voiceover can stay connected.
4. Add context and review the outline
Choose optional Style and Audience labels, then select the roster you created. These labels organize the script; they do not rewrite your words or change the selected voices.
Before generating, check the right side of the workspace:
- Every intended scene should appear under Scenes.
- Every speaker should appear under Roster as assigned.
- The scene and total duration estimates should fit your target.
- Any structural problem should be resolved before synthesis.
5. Generate and listen
Save the script and choose Generate audio. Generation runs one passage at a time with bounded concurrency, so an individual failure does not discard successful clips.
Use the transport at the bottom to play, pause, scrub, skip, or move between passages. The current scene and spoken source range stay highlighted while playing or paused.
6. Make one revision
Change one sentence and save again. Only narration affected by the changed text becomes outdated. Regenerate that passage and listen again; unchanged clips remain ready.
Next, learn the complete Markdown script format or how generation and playback behave.